Growing Your Own Celery from Celery Bottoms
Did you know that the base of the celery bunch, which we typically cut off and discard, can be used to start a new celery plant? By soaking the base in water until it begins to sprout new stalks, and transplanting those to a garden bed or planter, you can raise your own celery.These instructions also include steps for creating a planter from a cast-off container, but you can ignore these steps if you already have a garden or planters setup. Celery is temperature sensitive. It does best when temperatures are above 50 F (10 C). However, it does not do well in heat and cannot tolerate drought, so in the US, zones 8 to 10 (USDA gardening zones) are not very friendly to celery. I live in Zone 8a. The good news is celery can be grown indoors, in a sunny window, and then set outside in the fall, here is mid-Texas, when the temperatures are cooler. For more details, visit https://www.gardeningknowhow.com/edible/vegetables/celery/how-to-plant-celery-bottoms.htm
Yield: 1 plant per
Cost: $20 or less
Equipment
- 1 container of suitable size (You can use a plant pot and grow indoors, or a container, such as a 5-gallon bucket or livestock lick tub to plant several bunches. )
- 1 can of paint primer optional
- 1 can of bright paint optional
- 1 drill with large twist bit
Materials
- potting soil (enough to fill the container of choice)
- gardening compost (to mix with potting soil and mulch around celery)
- plant fertilizer
- celery bottoms
Instructions
Start the celery bottoms:
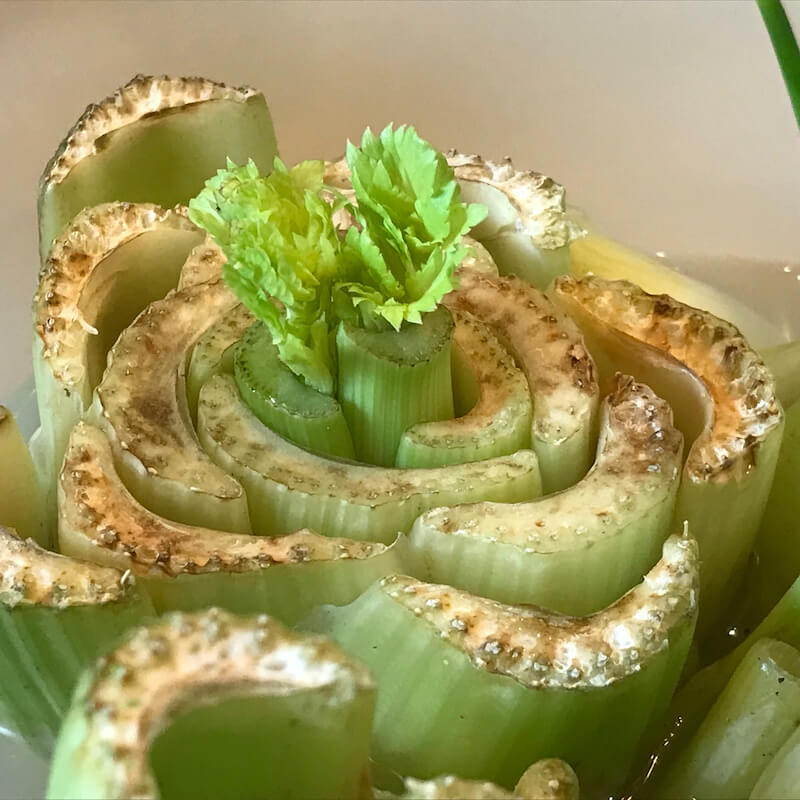
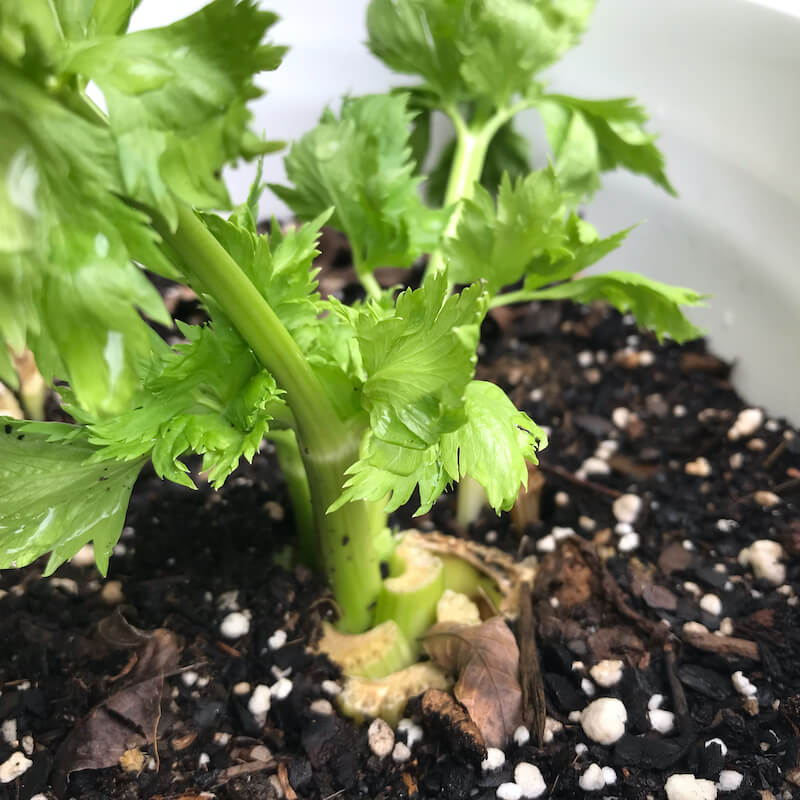
- Whenever you purchase a bunch of celery, cut the bottom from the stalk about 2-3 inches (5 to 7.5 cm) from the root base.
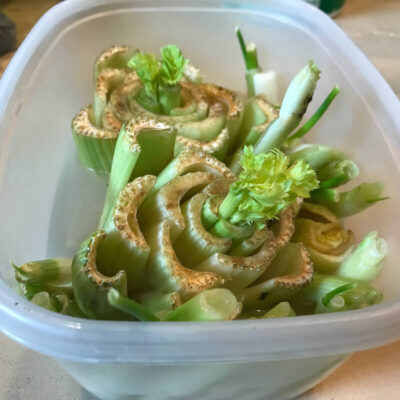
- Place the celery bottom water, about halfway up the side of the stalk. Place the container where the plants can receive some light in the mornings, and shade later in the day.
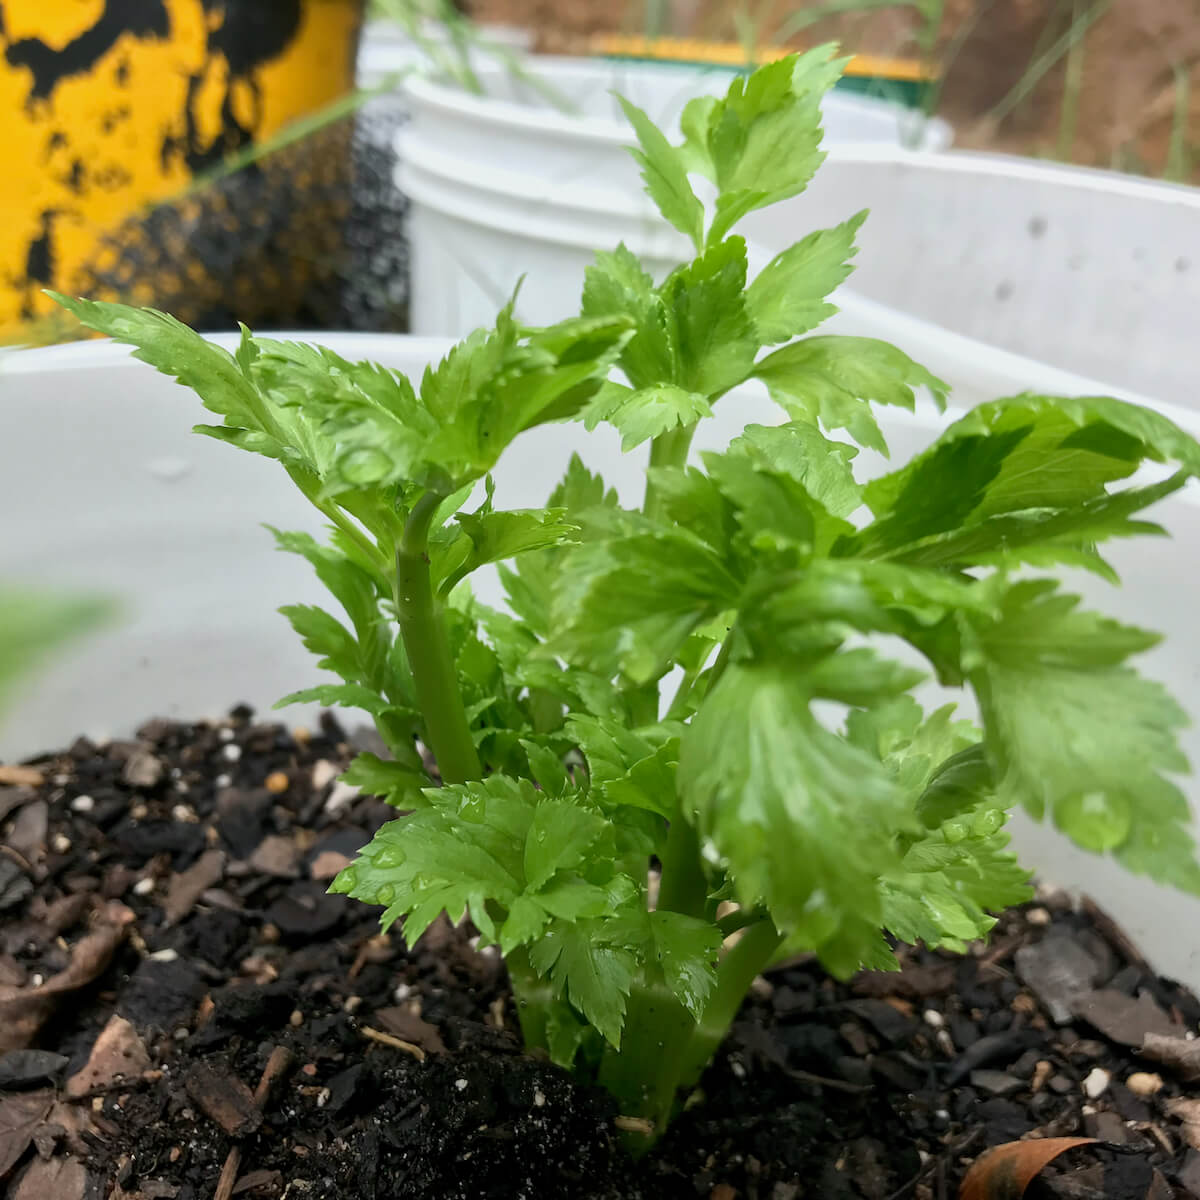
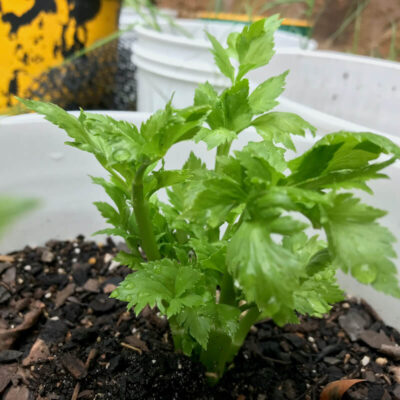
- When sprouts and new roots begin to appear, it is time to transplant the celery bottoms.


Prepare the container:
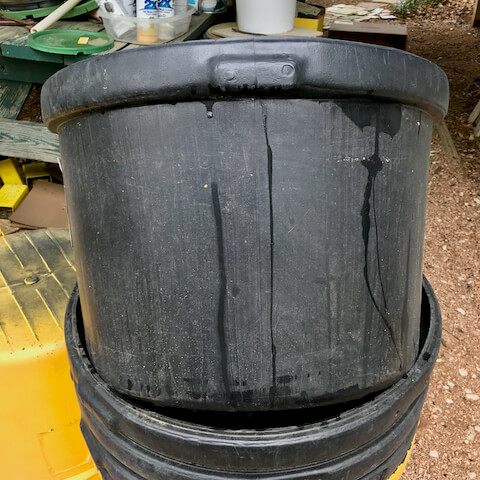
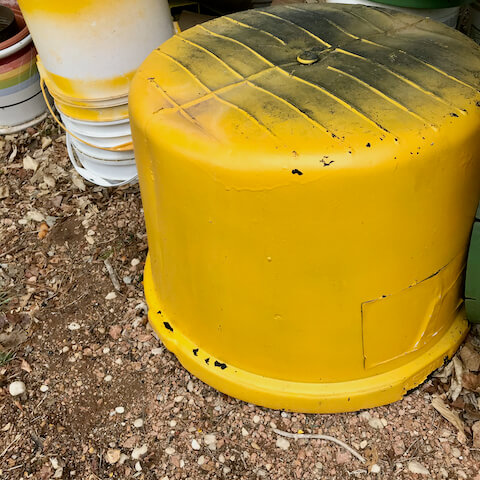
- I like to use discarded "lick tubs" used to provide range cattle with mineral blocks. These are easy to find at the town dump.

- Clean the container inside and out.
- Here in Texas, we get some days in excess of 100 degrees, so I like to paint my containers with a bright, reflective color, as the black tubs will absorb too much heat from the sun. Spray the outside with a coat of primer, such as Rustoleum, and let dry overnight. Spray over the primer with the finish color. Let dry over night. Add a second coat if desired.

- When the container is painted, turn it upside down and drill several holes in the bottom for drainage.
- A large container, like a lick tub, can hold 100 lbs of soil, making it too heavy to move without breaking the tub. So I fill the bottom with empty plastic milk jugs lying on their sides.
- Add potting soil, or a compost and soil mix.
Transplant the celery
- Make a hole in the soil wide enough and deep enough to hold the root portion and base of the celery. Do not go too deep, the stalks remain above the soil
- Moisten the soil until it is damp. Place a celery bunch in the hole, roots first and gently fill around it with your hand.

- Add a little plant fertilizer according to package instructions, and water the fertilizer into the soil.
- Keep the soil damp, but not wet.
- If you plant celery in your garden, bank the sides with weed-free compost.
- You can begin to harvest when stalks reach 6 inches.

Notes
- Do not let the soil dry out. Keep the soil damp, but not wet.
- Celery does not tolerate drought.
- Fertilize adequately. If you see thin stalks, the plant is not getting enough nutrients.
- In zones 8-10, summer temperatures and dry conditions will kill celery in the garden. However, you can raise the plants indoors in planters.
- Celery needs sunlight in the morning and shade in the afternoon.
- Local restaurants can be a good source for celery bottoms.