
Re-growing Green Onions
The white portion of a green onion can be propagated to grow a new onion. The process is simple. Just place the white bulb end in some water for a few days, with the green leafy portion above the water line. When new roots begin to appear, the onion can be planted to grow into a full plant. Our recipes typically use the whole scallion (green onion). Sometimes we separate the white portion from the green portion for use in separate stages of the cooking process. However, many of the family restaurants near me chop the green portion for use as a garnish, but discard the white base of the plant. Since these are discards, they are happy to let me take them.Soil quality here is poor. So most home gardeners use either raised beds or containers. If you have good soil, you can skip the steps for creating your own plant container, and set the onions in your garden.
Yield: 1 plant per
Cost: $20 or less
Equipment
- 1 container of suitable size (You can use a plant pot and grow indoors, or a container, such as a 5-gallon bucket or livestock lick tub to plant several bunches. )
- 1 can of paint primer optional
- 1 can of bright paint optional
- 1 drill with large twist bit
Materials
- potting soil (enough to fill the container of choice)
- gardening compost (to mix with potting soil and mulch around celery)
- plant fertilizer
- green onion root cuttings
Instructions
Start the green onions:
- Cut the green onion about 2 to 3 inches above the root.
- Place the green onion in container with water covering the roots.

- When sprouts and new roots begin to appear, it is time to transplant the green onions.


Prepare the container:
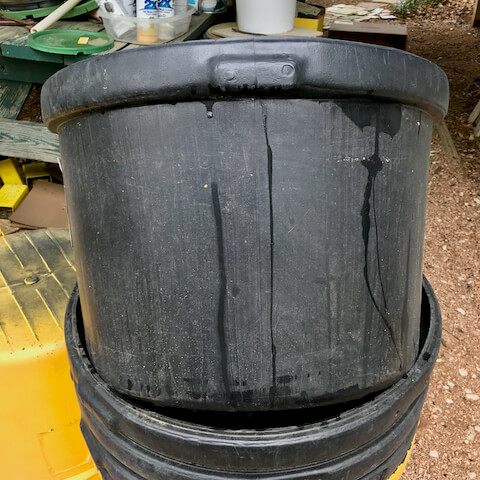
- I like to use discarded "lick tubs" used to provide range cattle with mineral blocks. These are easy to find at the town dump.

- Clean the container inside and out.
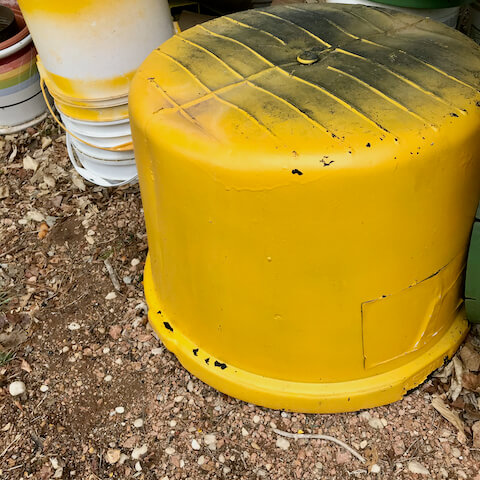
- Here in Texas, we get some days in excess of 100 degrees, so I like to paint my containers with a bright, reflective color, as the black tubs will absorb too much heat from the sun. Spray the outside with a coat of primer, such as Rustoleum, and let dry overnight. Spray over the primer with the finish color. Let dry over night. Add a second coat if desired.
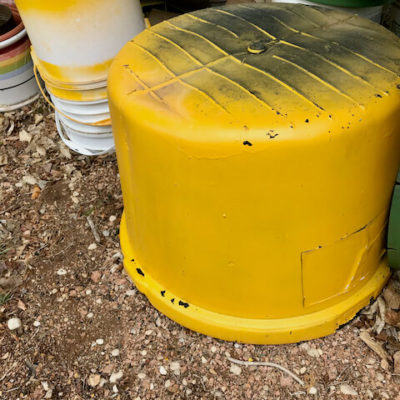
- When the container is painted, turn it upside down and drill several holes in the bottom for drainage.
- A large container, like a lick tub, can hold 100 lbs of soil, making it too heavy to move without breaking the tub. So I fill the bottom with empty plastic milk jugs lying on their sides. This keeps the bottom third free of soil, and promotes drainage. The plant roots will not grow this deep anyway, so filling a tub of this size with soil just adds weight and cost without productive value.
- Add potting soil, or a compost and soil mix.
Transplant the green onions
- Make a hole in the soil wide enough and deep enough to hold the root portion and bulb, but do not plant too deep. Place them about 2 inches apart.

- Keep the soil moist but not wet. Water frequently. Fertilize every two weeks.
- Mulch around the plants to help keep the soil moist.
- You can begin to harvest when stems reach 6 inches. You can either snip the green stem and leave the roots to grow a new stem, or you can pull the whole plant.


Notes
- Green onions have shallow roots. Do not soak the soil, but keep it moist. Too much water will cause mold and rot.